
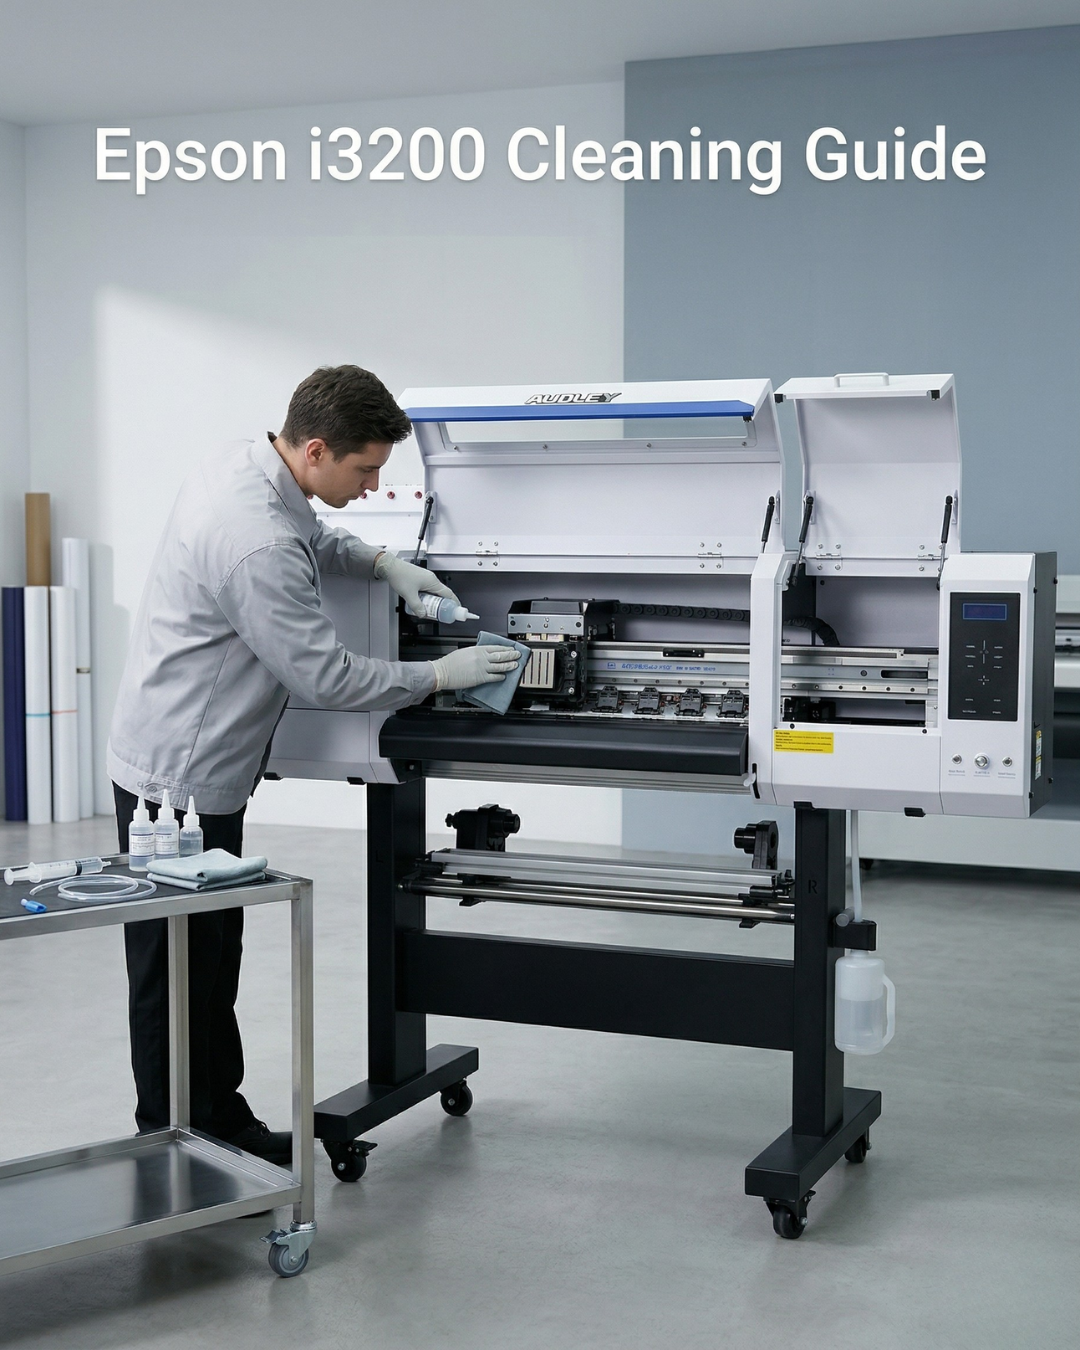
A clogged i3200 is a production stop. And because the head costs around $900, most shops panic and overcorrect — running too many cleaning cycles, using the wrong fluid, or soaking the nozzle plate in something that eats the internal coating.
This guide covers what actually works, in the right order, without risking the head.
What causes an i3200 to clog
The Epson i3200-A1 has 3,200 nozzles arranged in eight rows across a 33.8mm print width. Those nozzles fire droplets as small as 3.8 picoliters. At that scale, even partial ink drying causes misfires and missing lines.
The most common causes:
Sitting idle more than three days without capping properly. Ink inside the nozzle channels starts to thicken and can solidify completely in low-humidity environments. Florida shops have the opposite problem — high ambient humidity can introduce condensation and alter ink viscosity enough to cause inconsistent jetting. If recurring clogs are your pattern rather than a one-off, the root causes go deeper than the head itself — read our full guide on why your wide format printer keeps clogging for a full diagnostic.
Using ink with the wrong viscosity. The i3200-A1 (water-based/DTF) requires ink viscosity between 2.2 and 3.8 mPa·s. The i3200-U1 (UV/eco-solvent) runs between 6.0 and 7.0 mPa·s. If your ink sits outside that range — because of temperature changes, a bad batch, or the wrong product entirely — droplet formation breaks down.
Residue from poor-quality cleaning solutions. Some aftermarket cleaning fluids leave a film that builds up across cleaning cycles and becomes its own blockage.
Before you do anything: print a nozzle check
This sounds obvious but people skip it. A nozzle check tells you whether you have a partial clog, a full channel gone, or an alignment issue that isn't actually a clog at all. Cleaning a head that doesn't need cleaning wastes ink and stresses the nozzle plate.
If lines are missing in the pattern, note which channels are affected. That tells you whether to run a soft clean, a manual clean, or a flush.
Step 1: Run the automated cleaning cycle (once, not three times)
The printer's built-in cleaning pushes ink through the nozzle channels under controlled pressure. It clears minor clogs from partial drying and is the right starting point.
Run it once. Print another nozzle check. If the missing lines are gone, you're done.
Where shops go wrong: running three, four, five cycles back to back. Each cycle pushes ink through at pressure, which can drive dried ink deeper into the channels rather than clearing it. Epson specifically advises against consecutive high-pressure cycles for the i3200.
If one cycle doesn't clear it, move to the next step.
Step 2: Clean the periphery manually
Before doing anything with cleaning fluid inside the head, clean the outside components. These are the parts that contact the nozzle plate every time the printer caps or wipes — and they're the cause of more recurring clogs than the head itself.
Wiper blade: dip a lint-free swab in the appropriate cleaning solution (water-based for the A1, solvent-based for the U1 — never cross them) and wipe the blade clean. Dried ink on the wiper scratches the nozzle plate on every pass.
Capping station: remove visible ink buildup from the rubber cap and frame. A capping station that doesn't seal properly lets the nozzle plate dry out even when the printer is parked. If the rubber is cracked or the suction feels weak, the cap needs replacing — not just cleaning. See our capping station maintenance guide for how to check and replace it.
Dampers: while you have the machine open, check the dampers for ink starvation (pale or empty chambers) or contamination (dark buildup). A failing damper causes ink flow issues that look identical to a head clog. For a full breakdown of what dampers, cappings, and wipers do and when to replace them, read our spare parts guide.
After cleaning these components, cap the printer, wait five minutes, and print another nozzle check. Sometimes the issue was the maintenance parts, not the head.
Step 3: Manual flush with a syringe (for stubborn clogs)
This is the step that ruins heads when done wrong.
You need a 60ml syringe, a soft silicone tube that fits the ink port, and the correct cleaning fluid. Do not use isopropyl alcohol — it attacks the piezoelectric film inside the i3200. Do not use distilled water alone — it won't dissolve dried DTF pigment. Use a cleaning solution rated for your specific ink type.
Attach the tube to the syringe. Connect it to the ink inlet port on the affected channel. Push slowly. Very slowly. Pressure above 1 PSI damages the nozzle film. You should see liquid emerging from the nozzle face in an even curtain pattern — techs call this the "water curtain" check. Uneven flow, bubbles, or no flow from specific nozzles tells you where the blockage is concentrated.
Flush until the outflow runs clear. Remove the syringe. Let the head rest for five minutes. Print a nozzle check.
If you're getting 90%+ nozzle recovery at this point, you can proceed with printing. If entire color channels are still missing after a proper flush, the blockage may be internal and the head likely needs professional evaluation or replacement.
Step 4: Overnight wet cap (for partial recovery that won't fully clear)
If the nozzle check shows most lines but a stubborn cluster won't clear, fill the capping station with cleaning solution and park the head on it overnight. The fluid keeps the nozzle plate hydrated and slowly works on dried ink from the outside.
In the morning, run the automated cleaning cycle once, then print a nozzle check. Most partial clogs clear with this method when the flush alone wasn't enough.
What you should never do
Do not soak the entire printhead in cleaning solution. The i3200 has electronics and cable interfaces that short-circuit on contact with fluid. Soaking is for the nozzle face only, not the whole assembly.
Do not mix cleaning fluids. Water-based and solvent-based cleaners react with each other and with dried ink from different formulations. The result can be a semi-solid deposit inside the channels.
Do not run a flush with the printer powered on without proper protection. The cleaning fluid passes very close to the circuit board. Turn the printer off and disconnect power before any manual fluid work.
How to prevent this from happening again
Print at least a test strip every morning before production starts. This circulates ink through the channels and catches nozzle problems before they become mid-job failures.
If the printer sits idle for more than two days, wet-cap it. Park the head on the capping station filled with a small amount of cleaning solution rather than letting it sit dry.
Keep your workspace between 68°F and 82°F and humidity between 55% and 75%. Temperature swings directly affect ink viscosity. In South Florida, climate control in your print room isn't optional — it's maintenance.
Replace the wiper blade every two to three months under normal production volume. A worn wiper transfers ink back onto the nozzle plate instead of cleaning it.
If you need a replacement head
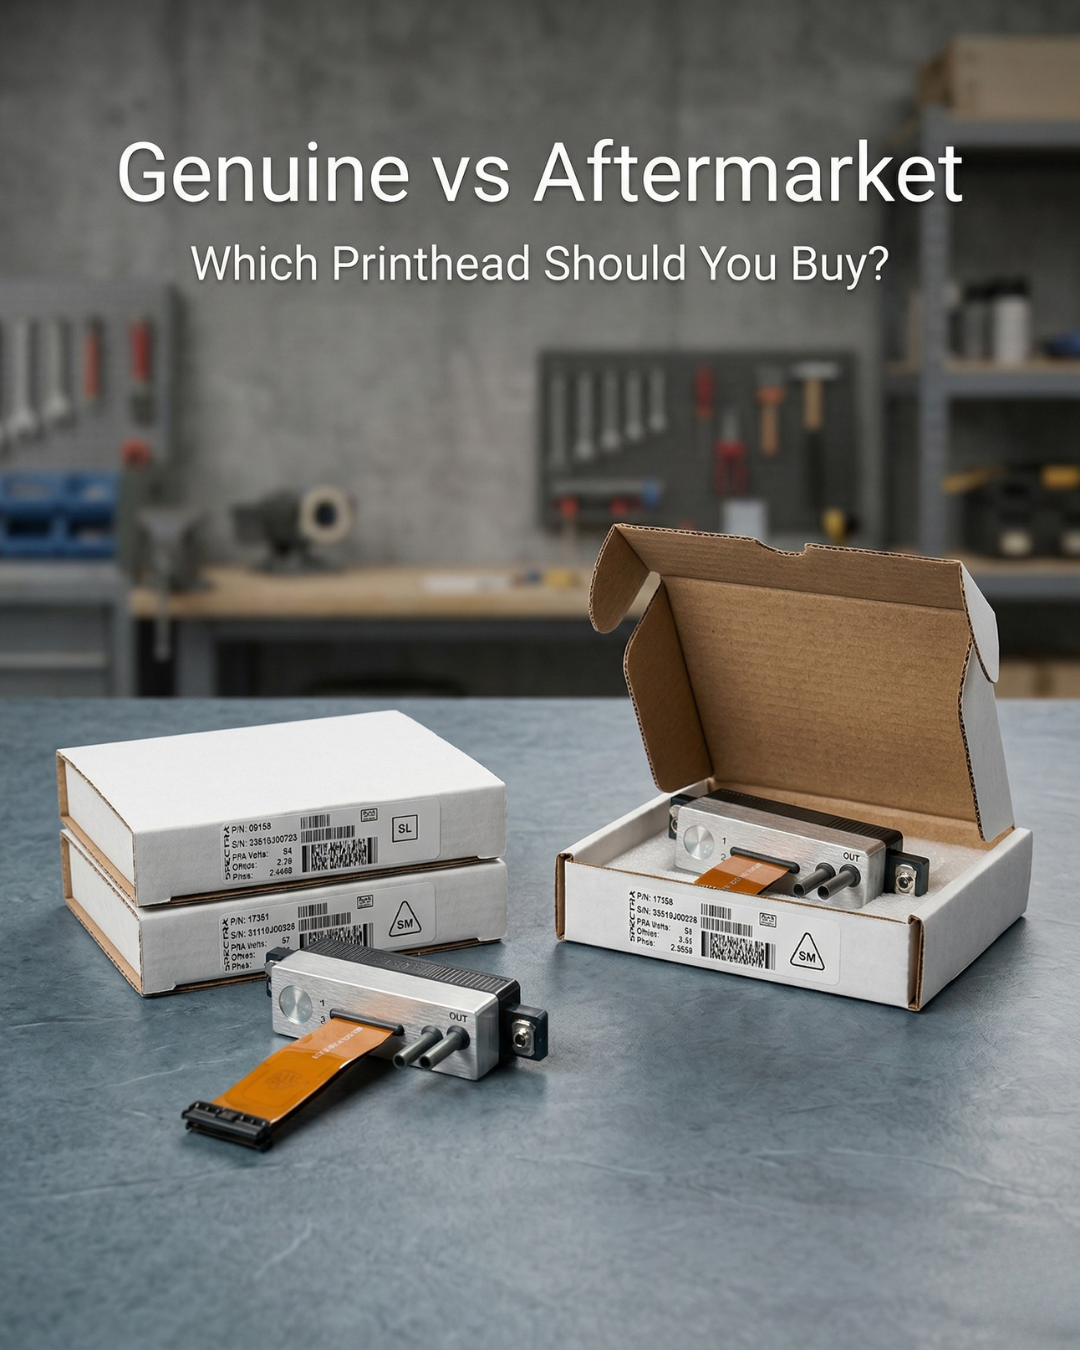
When a flush doesn't recover the head and the damage is confirmed, you need a genuine OEM replacement — not a grey-market clone. For why that matters, read our breakdown of genuine vs aftermarket printheads before you buy.
The Epson i3200-A1 for water-based and DTF applications carries the full Epson OEM seal and serial number documentation. Digiprint USA ships same day from Florida — which matters when a head failure means production is stopped and you can't wait a week for West Coast ground shipping.
Browse the full range of Epson printheads or all printheads in our catalog.
The i3200 is a robust head. Under normal conditions with proper maintenance, it outlasts the machines that run it. Most of the failures we see come from the periphery — bad wiper blades, contaminated capping stations, failed dampers, wrong cleaning fluids — not from the head itself. Fix those first before assuming the head is gone.


Leave a comment
This site is protected by hCaptcha and the hCaptcha Privacy Policy and Terms of Service apply.