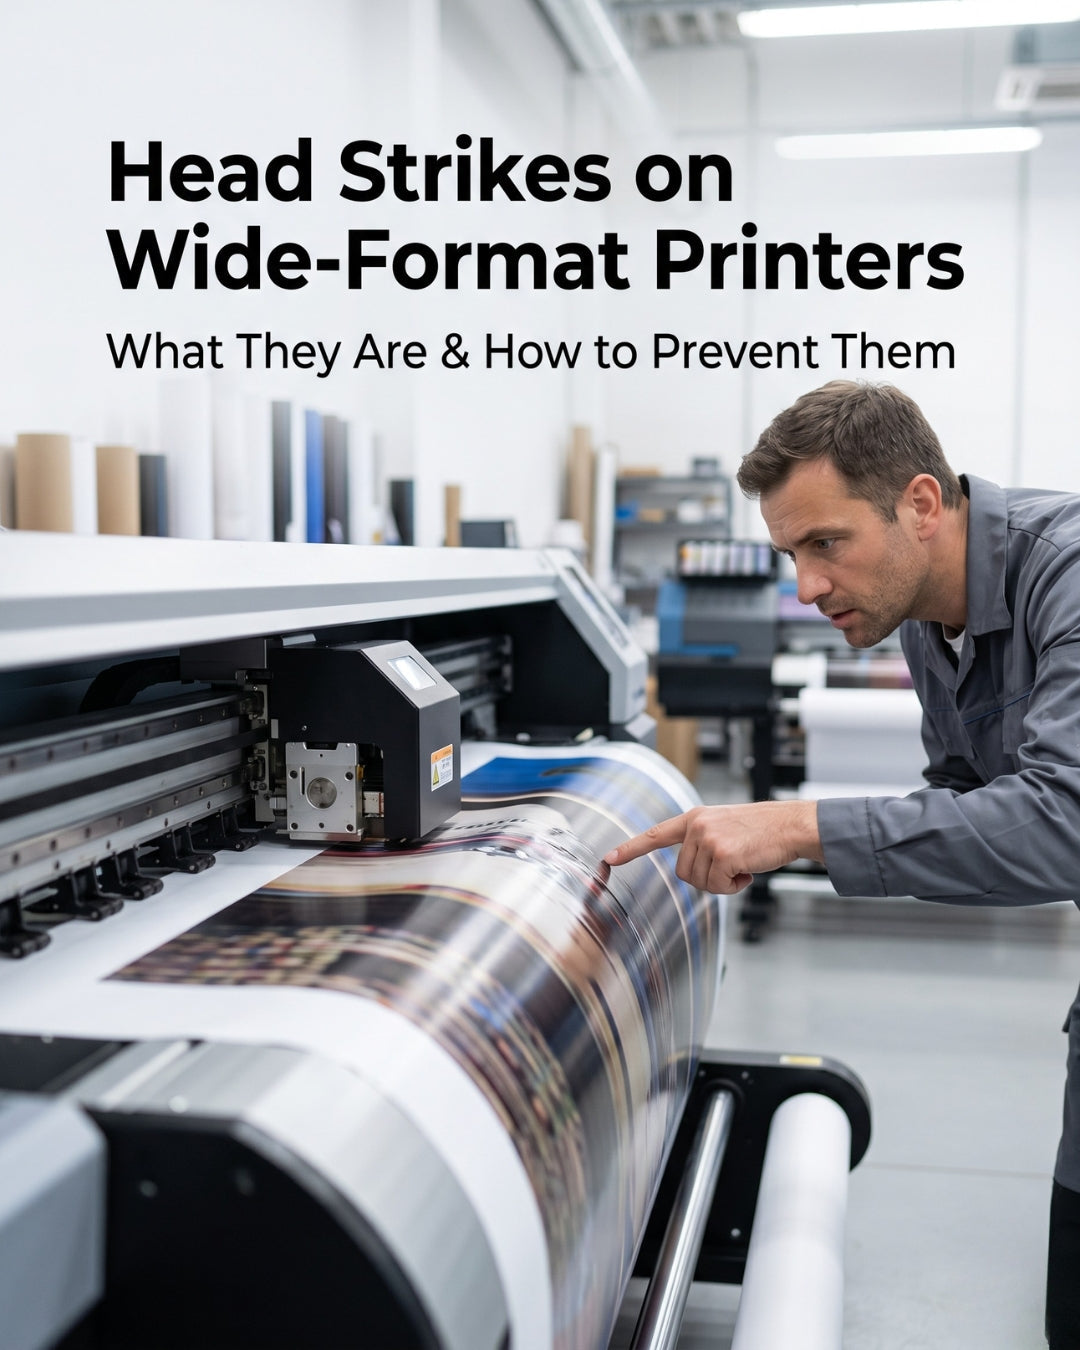
A head strike (also called a printhead strike, printhead crash, or media strike) occurs when the printhead physically contacts the media during printing.
A head strike is the one printhead problem that cannot be fixed. Every other issue covered in this troubleshooting series — banding, missing nozzles, color shifting, ink starvation — has a fixable root cause. Head strikes are different. When the printhead's nozzle plate physically contacts the media surface, nozzles are destroyed on impact. The damage is permanent and immediate.
The good news is that head strikes are almost entirely preventable. Every strike has a specific, identifiable cause — and every cause has a direct preventive measure. This guide covers what head strikes are, how to confirm one has occurred, every cause, and what to change to prevent the next one.
Important — head strike damage cannot be repaired
Unlike nozzle clogs or damper failures, physical nozzle plate damage from a head strike is permanent. No cleaning cycle, maintenance procedure, or service intervention will restore destroyed nozzles. If a head strike has caused significant nozzle damage, the printhead requires replacement. Contact us before ordering to confirm the extent of damage.
In this guide
- What a head strike is and what it does to the printhead
- How to confirm a head strike has occurred
- Cause 1 — Incorrect printhead height setting
- Cause 2 — Media jam or media feeding incorrectly
- Cause 3 — Media curl or edge lift
- Cause 4 — Wrong media thickness profile
- Cause 5 — Debris on the print platen
- Cause 6 — Printhead height set too low after maintenance
- After a head strike — what to do immediately
- Prevention checklist
- FAQ
What a head strike is and what it does
The printhead sits a precise distance above the media surface — typically 1–2mm depending on the printer model and media type. This gap is called the head gap or platen gap. The nozzle plate on the underside of the printhead contains thousands of precision-engineered nozzle openings, each roughly 20–40 microns in diameter.
When anything closes that gap — whether a raised edge of curled media, a piece of debris on the platen, or incorrect height settings — the nozzle plate contacts the surface. Even at low carriage speeds, the nozzle plate is moving at several hundred millimetres per second. Contact at that speed shears nozzles, scratches the nozzle plate, and can smear ink across the entire plate surface, blocking all nozzles simultaneously.
The result is immediate: some or all nozzle rows vanish from the check pattern, ink smears across the carriage and the media, and print output may stop entirely. Some minor strikes damage only a portion of nozzle rows. Severe strikes destroy the entire nozzle plate.
How to confirm a head strike has occurred
Head strikes have a distinct set of symptoms that distinguish them from other printhead failures:
- Sudden onset — quality was fine, then instantly failed. Head strikes produce sudden catastrophic quality loss, not gradual degradation.
- Ink smear on the media — a visible smear or streak of wet ink across the print surface where the head made contact.
- Ink smear on the nozzle plate — inspect the underside of the printhead carriage. A strike leaves a smear of media material or ink across the nozzle plate.
- Multiple entire nozzle rows missing — not a few spots, but complete rows gone across multiple color channels simultaneously.
- Scratch visible on nozzle plate — under magnification or bright angled light, a physical scratch is visible on the nozzle plate surface.
- Print job stopped mid-run — many printers have contact sensors that halt the carriage when excessive resistance is detected.
Distinguishing a head strike from other failures: Run a nozzle check immediately after the incident. If entire rows across multiple channels are simultaneously missing and the failure was sudden — not gradual — a head strike is almost certainly the cause. A clog or damper failure produces gradual partial missing nozzles, not instant complete row loss across all channels simultaneously.
Cause 1 — Incorrect printhead height setting
Likelihood: High. The most common cause of recurring head strikes is the printhead height being set too low for the media thickness in use. Most printers have a manual or automatic head height adjustment. If the gap is set for thin media (such as 80gsm paper) and then thicker media (DTF film, banner material, canvas) is loaded without adjusting the height, the head will contact the thicker media surface on every pass.
What to do:
- Always adjust head height when changing media type or thickness — this is a mandatory step, not optional
- Set head height to the appropriate position for your current media — consult your printer's documentation for the correct gap per media type
- When in doubt, set the gap wider (higher head position) rather than narrower — a slightly wider gap reduces quality marginally but prevents strikes
- On printers with automatic media thickness detection, confirm the detection is working correctly before each job
Cause 2 — Media jam or media feeding incorrectly
Likelihood: High. When media jams, bunches, or feeds at an angle, it can pile up in the print zone and enter the head gap. This is particularly common with DTF film, which is thinner and more prone to jamming than paper, and with roll media that is not loaded straight.
What to do:
- Never print over a media jam without first fully clearing it and resetting head height
- Always load roll media straight and tensioned correctly before starting a job
- On DTF printers, confirm the film feed is tracking correctly before beginning a production run
- Inspect the take-up system — if the take-up is not pulling media evenly, media can bunch in the print zone
- If a jam occurs mid-job, stop the print immediately, do not attempt to continue — clear the jam completely, inspect the nozzle plate, and run a nozzle check before resuming
Cause 3 — Media curl or edge lift
Likelihood: High — especially with DTF film and cut sheets. DTF film, vinyl, and cut sheet media can curl at the edges due to temperature, humidity, or improper storage. When a curled edge lifts into the head gap as the carriage passes over it, a strike occurs. This is especially common on the leading and trailing edges of cut-sheet jobs.
What to do:
- Store DTF film and other roll media correctly — laid flat or in original packaging, away from heat sources and humidity extremes
- Allow media to acclimatise to the print room temperature before loading — cold media entering a warm room can curl rapidly
- On printers with vacuum platens, confirm the vacuum is functioning and holding the media flat
- On cut-sheet jobs, confirm leading and trailing edges are held flat before beginning the print
- When printing near the edge of a roll, inspect the remaining film for curl before continuing
Cause 4 — Wrong media thickness profile in software
Likelihood: Medium. On printers where head height is software-controlled, selecting an incorrect media profile can set the head gap to a position unsuitable for the actual media being used. This is more common after changing RIP software, updating printer firmware, or switching media suppliers where the new media has slightly different thickness.
What to do:
- Confirm the media profile selected in your RIP or printer driver matches the actual media type and thickness loaded
- When switching media brands or types, measure the actual media thickness and verify the profile setting matches
- After any firmware update, re-verify head gap settings — firmware updates can reset certain calibration values
Cause 5 — Debris on the print platen
Likelihood: Medium. Pieces of dried ink, media fragments, or other debris on the print platen can protrude into the head gap. Even a small dried ink chunk a fraction of a millimetre high can cause a strike when the carriage passes over it at speed.
What to do:
- Include platen inspection and cleaning in your daily startup routine — check the print zone for debris before every production session
- Carefully remove any dried ink accumulation with a soft cloth — do not use sharp tools that could scratch the platen surface
- On DTF printers, check the area around the edge guides and feed rollers for film fragment accumulation
- After any media jam, inspect the entire platen surface before resuming — jams frequently leave media fragments in the print zone
Cause 6 — Head height not reset after maintenance
Likelihood: Medium. After printhead replacement, carriage maintenance, or any service operation that involves the head height mechanism, the gap must be re-calibrated. If maintenance is completed and production resumes without resetting the head height to the correct position for the current media, a strike can occur on the very first print pass.
What to do:
- After every printhead replacement or carriage service operation, head gap calibration is a mandatory step before resuming production
- Run a nozzle check on scrap media at reduced speed before running a full-width production job at normal speed
- Document the head height setting for each media type used — keeps calibration consistent across operators
After a head strike — what to do immediately
- Stop the print job immediately — do not attempt to continue. Further printing after a strike smears debris further across the nozzle plate and makes diagnosis harder.
- Clear the media carefully — remove any jammed or damaged media from the print zone without touching the nozzle plate.
- Inspect the nozzle plate — use a flashlight at a low angle to look for ink smear, scratch marks, or debris adhered to the nozzle plate surface.
- Gently clean the nozzle plate — if ink is smeared on the plate, carefully clean it with a lint-free swab dampened with approved cleaning solution. Do not apply pressure or scrub — wipe gently.
- Run a nozzle check — this tells you how much damage was done. If only a few nozzle spots are missing, the strike may have been minor and cleaning may restore partial function. If entire rows are missing across multiple channels, the damage is significant.
- Identify and fix the cause before printing again — a head strike will recur on a new head if the underlying cause is not corrected first.
- Contact us if replacement is needed — we can help confirm damage extent from a nozzle check photo and confirm the correct replacement head for your printer before you order.
Head strike prevention checklist
Before every production session
Inspect print platen for debris · Confirm media is loaded straight and flat · Verify head height is set for current media thickness · Check vacuum hold-down is functioning (if applicable)
When changing media type or thickness
Always adjust head height for new media · Confirm correct media profile selected in RIP · Run a test pass on scrap media before full production job
After any media jam
Stop job immediately · Clear all media from print zone · Inspect platen for fragments · Inspect nozzle plate · Run nozzle check before resuming
After any maintenance operation
Re-calibrate head height · Run test print at reduced speed on scrap media · Confirm nozzle check clean before resuming production speed
Frequently asked questions
What is a head strike on a wide-format printer?
A head strike is when the printhead's nozzle plate physically contacts the media surface or platen debris during a print pass. The contact — even at low carriage speeds — causes immediate and permanent damage to the precision nozzle openings on the nozzle plate. Head strike damage cannot be repaired and typically requires printhead replacement.
How do I know if my printhead has had a head strike?
Signs of a head strike include: sudden complete quality failure (not gradual), ink smear visible on the media or nozzle plate, multiple entire nozzle rows missing simultaneously on the nozzle check, and a visible scratch on the nozzle plate surface. Run a nozzle check immediately after any suspected strike to assess damage.
Can a head strike be repaired?
No. Physical nozzle damage from a head strike is permanent. Cleaning cycles and maintenance procedures can remove surface ink smear but cannot restore damaged nozzle openings. A significant head strike requires printhead replacement. Contact us with a photo of your nozzle check to confirm the extent of damage before ordering.
What causes head strikes on DTF printers?
The most common causes on DTF printers are: incorrect head height set too low for the DTF film thickness, film curl or edge lift entering the head gap, film jams piling up in the print zone, and platen debris from accumulated dried ink or film fragments. All are preventable with a pre-production inspection routine and correct height calibration.
How do I prevent head strikes from happening again?
Inspect the platen for debris before every session. Always adjust head height when changing media type. Never print over a jam without clearing it and rechecking height. Store media flat and allow it to acclimatise to room temperature before loading. Re-calibrate head height after every maintenance operation before resuming production.
Need a replacement head after a strike?
Before ordering, email us a photo of your nozzle check so we can confirm the correct replacement and the right accessories to order with it. Printheads are final sale — getting the right head matters. Ships same day from Doral, FL before 2 PM EST.
Email info@digiprint-usa.com · Call +1 (773) 451-5110
Browse Replacement Printheads →

Leave a comment
This site is protected by hCaptcha and the hCaptcha Privacy Policy and Terms of Service apply.