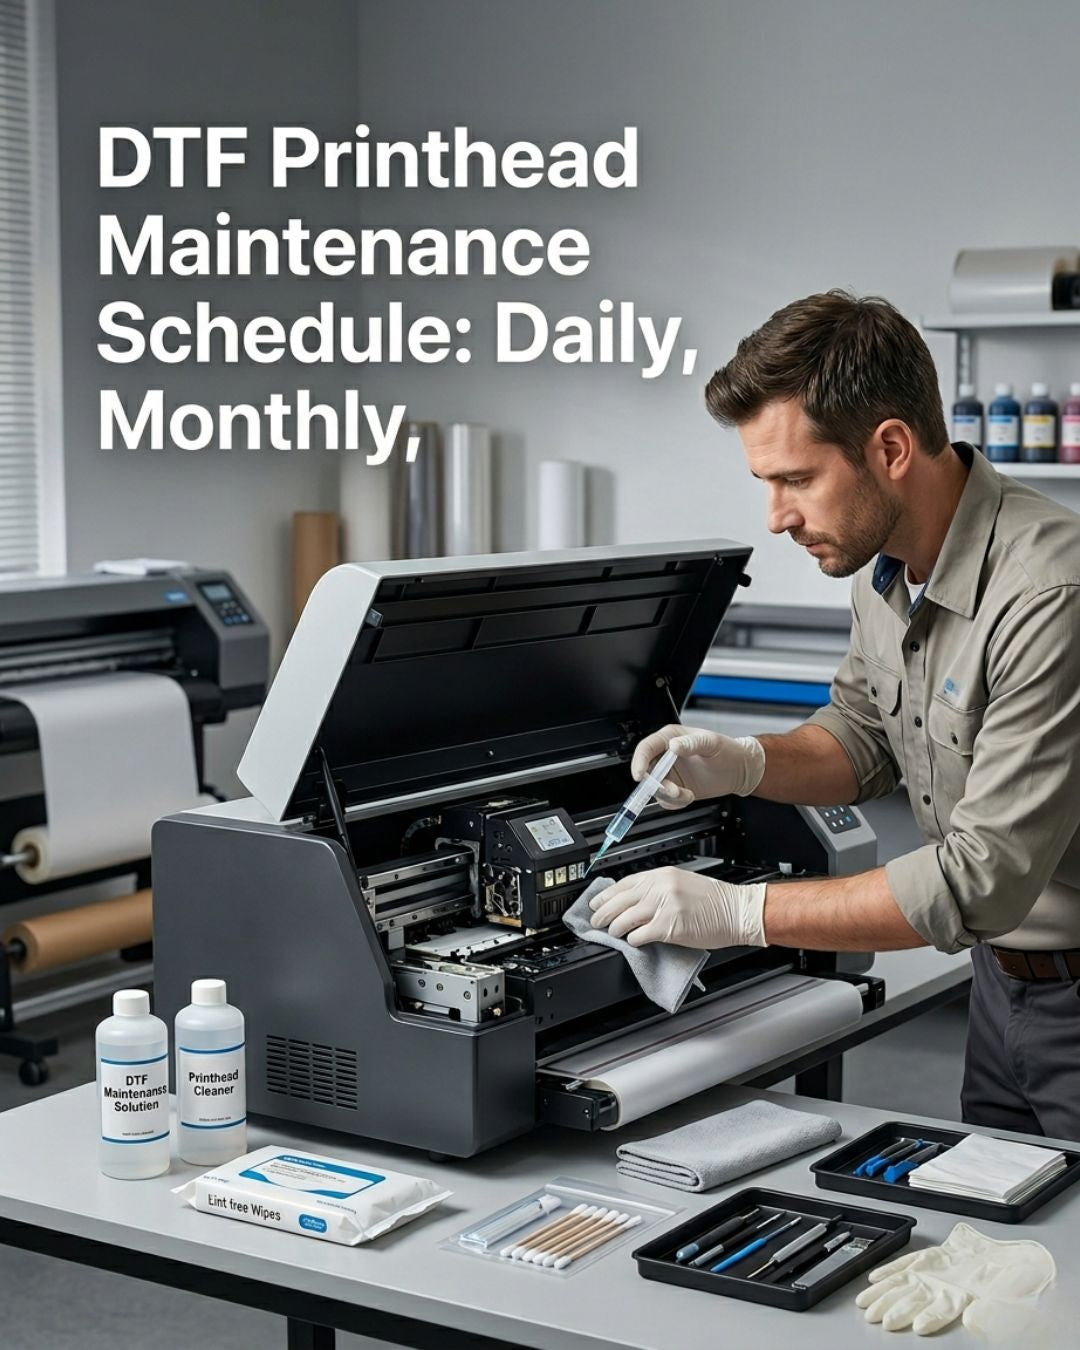
A DTF printhead that gets proper daily, weekly, and monthly maintenance lasts 18 to 30 months. The same head with no routine dies in 4 to 8 months. The cost difference between those two outcomes is one $1,000 replacement every 6 months versus one every two and a half years.
This is the schedule we recommend for shops running daily DTF production on Epson XP600 or Epson i3200-A1 heads. Adjust frequencies up if you run multiple shifts, down if your printer sits idle most days.
Daily — every shift before you start printing
Total time: 5 minutes. The cheapest maintenance investment in the budget.
Print a nozzle check. This is the single most important habit in DTF maintenance. A nozzle check takes 30 seconds and tells you whether yesterday's parking and today's startup left the head in good condition. If you see missing lines before a job starts, you catch the problem before you waste film, ink, and powder on a run that prints with banding. If the nozzle check is clean, start printing. If it is not clean, run one head clean and reprint. If two cleans do not clear it, stop and investigate — something is wrong that a third cleaning cycle will not fix. For a full breakdown of what each nozzle pattern means and the correct response to each, see our i3200 cleaning and diagnostic guide.
Visually inspect the capping station. Lift the carriage. Look at the rubber lip on the capping station. If you see dried ink crust, hard buildup, or visible cracking in the rubber, wipe the lip with a lint-free swab dipped in cleaning solution. Park the head and watch it seat flush onto the cap. A head that does not seal properly against the cap dries out overnight. You will come in the next morning to a nozzle check that is significantly worse than when you shut down — not because of a clog, but because the cap failed to protect the nozzle plate.
Check the wiper blade. With the carriage still lifted, look at the wiper. If you see ink buildup on the blade or its housing, clean it with a lint-free swab. If the blade is curled, cracked, or has a visible notch missing from the edge, replace it before you print. A damaged wiper scratches the nozzle plate on every pass. That damage is permanent and is not fixable with cleaning solutions.
Top off ink and check for air bubbles in the dampers. Look at the ink-side chamber of each damper. Visible air bubbles in the chamber mean there is a leak somewhere upstream — a cracked damper body, a loose fitting, or a degrading ink line. The affected color channel will start dropping nozzles within hours. Find the source before running any production jobs.
Weekly — end of the work week
Total time: 30 to 45 minutes. Best done Friday afternoon so the machine starts Monday in clean condition.
Deep clean the capping station. If your printer design allows it, remove the capping station entirely. Soak it in cleaning solution for 10 minutes. Use a small swab to clear the suction holes inside the cap cup — these small openings create the vacuum during cleaning cycles. When they partially block with dried ink, cleaning cycles run but fail to generate enough suction to pull through stubborn clogs. The printer reports a completed cycle, but the nozzle check does not improve. You will not catch this failure in daily visual checks until the head is already in trouble.
Run a powerful clean. Once a week, run one of the printer's stronger cleaning cycles — called "powerful clean," "ink charge," or "head wash" depending on the brand. This uses more ink than a standard clean but pushes through any partial blockages that have not yet appeared on a nozzle check. Think of it as flushing the system before a problem develops rather than after it shows up in production.
Wipe down the encoder strip. The encoder strip is a transparent strip running the full length of the carriage path. The printer reads it to determine carriage position. Ink mist, dust, and fingerprints on the strip cause positioning errors that appear as alignment issues — outputs that look like a head calibration problem but do not respond to anything done to the head itself. Use a dry lint-free cloth only. Do not use cleaning solution on the encoder strip — solvent residue damages the strip's optical coating.
Inspect the wiper blade and capping station for replacement timing. If either is showing wear you have been tracking in daily checks, the end of the work week is when you swap it. Replacing on a Friday and starting Monday with fresh components is far better than discovering a failure mid-job on Tuesday morning with a deadline in progress.
Monthly — scheduled maintenance block
Total time: 2 to 4 hours depending on what you replace. Schedule it for a slow morning or after hours.
Replace the dampers if they are more than 4 to 6 months old. Dampers fail gradually. The internal membrane and seals degrade with constant ink exposure and pressure cycling. The failure is slow enough that you do not see a dramatic event — print quality becomes slightly less predictable over weeks until a channel drops out and does not come back. Replace them on schedule, not on failure. At $6.50 to $10 per damper, this is the lowest-cost scheduled maintenance item relative to what it protects. For a full explanation of how dampers fail and what the symptoms look like before they become critical, see our dampers, capping stations, and wiper blades guide.
Replace the wiper blade — even if it looks fine. Wiper blades wear in ways that are not always visible. The edge rounds off gradually, the rubber hardens slightly, and the geometry shifts over time. A blade that passes visual inspection may no longer be making proper contact across the full nozzle plate width. A new wiper costs $10 to $25. It protects a $398 to $997 head. Replace it monthly regardless of appearance.
Check the capping station and replace if needed. Capping stations last 8 to 14 months in daily DTF production under normal conditions. If yours is past that window, replace it this month regardless of appearance. If it is showing visible cracking, hardening, or has lost suction elasticity at any earlier point, replace it immediately — do not wait for the monthly schedule.
Flush the ink lines. If your printer supports a full ink line flush, run it once a month with cleaning solution. This clears any settled pigment between the tank and the dampers — particularly important for white ink, which has the highest pigment load and the strongest tendency to settle in lines that are not constantly circulating.
Calibrate. Run a full head alignment, a bidirectional alignment, and a media feed calibration. Print a test pattern at the start of the month and compare it to the one from the previous month. If color accuracy or edge sharpness has drifted, side-by-side comparison makes it visible before a customer complaint does.
Things that are not on a schedule but matter just as much
Temperature and humidity. DTF printheads are sensitive to environment. Keep your print room between 65°F and 80°F and humidity between 40% and 60%. Below 40% humidity, ink begins drying on the nozzle plate during active printing — not only when parked. Above 60%, condensation affects ink viscosity and causes intermittent jetting problems that look like clogs but do not respond to cleaning. In South Florida, climate control in the print room is not a comfort upgrade — it is a maintenance requirement. A dedicated air conditioning unit that holds stable temperature and humidity costs less per year than one extra printhead replacement.
Power down correctly. Always use the printer's power button, never the wall switch or power strip. The shutdown sequence parks the head on the capping station and seals it before cutting power. Cutting power while the carriage is mid-travel — or during an active job — leaves the nozzle plate exposed in a random position. This is one of the fastest ways to dry out a head that was otherwise in perfect condition.
Do not let the printer sit idle for more than 3 days without running a nozzle check. DTF pigment inks settle. White ink separates fastest. If the printer will sit for a week or more, run a cleaning cycle and nozzle check every two days minimum, or drain the white ink lines and store the ink separately. The cost of two cleaning cycles per week during downtime is far less than a blocked white channel on the first day back in production.
What to keep on the shelf at all times
For any shop running daily DTF production, these should be in your supplies cabinet before you need them — not ordered after something fails:
- One spare capping station for your specific printer model
- One spare wiper blade
- One spare set of dampers
- One bottle of cleaning solution — enough for a full flush
- A pack of lint-free swabs
Total cost: $80 to $150 depending on your machine. When something starts to fail at 9am on a production morning, you swap it in 20 minutes and keep running. Without that shelf stock, the same failure means placing an order and losing a day or more of production while waiting for shipping.
Digiprint USA stocks all of these for the common DTF platforms — Epson XP600, i3200-A1, and the boards and decoder cards that go with them — all shipping same day from Doral, Florida. If you are not sure which damper or capping station fits your specific printer model, send us the make and model before ordering and we will confirm the right part before it ships. Browse the full DTF supplies catalog or the complete spare parts range.
If you are working through whether your current print issues are a maintenance problem or a genuine head failure, our guide on how to tell if your printhead needs replacing covers the six specific failure patterns that confirm a dead head — and the cheaper problems that look identical. Most heads that get replaced do not need replacing. Most of the time, it is a damper or a capping station. This schedule exists to make sure you never end up in that situation.

Leave a comment
This site is protected by hCaptcha and the hCaptcha Privacy Policy and Terms of Service apply.